
We are convinced that applying a varnish, whether classic or semi-permanent, can be a fun time, while obtaining a result worthy of a real pro. Today, the wholesale nail supply distributors will guide you step by step to achieve a successful manicure at home as well as in a salon.
Getting ready
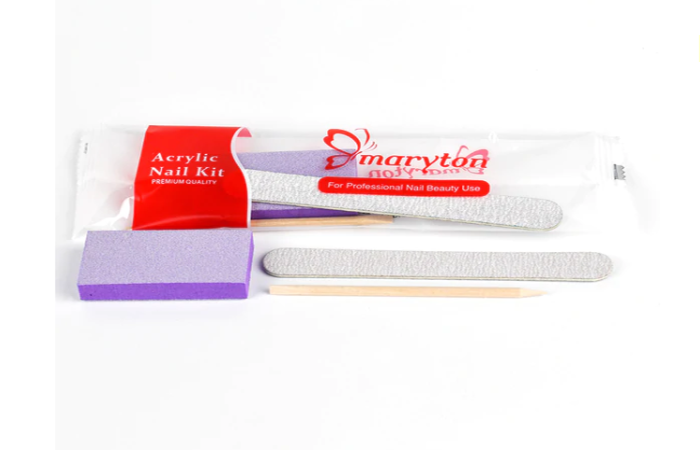
Before starting your manicure, we strongly recommend that you go through the nail preparation stage. To prepare your nails, you will need:
- A nail file
- A cuticle pusher
- A nail buffer
You will find all of these must-haves in the manicure kit. Once the preparation step is completed, remember to remove all fatty substances from your nails, this will help the base so that the varnish adheres better.
Step 1: Base Coat
When you start applying semi-permanent varnish, the watchword is: p-r-o-t-e-c-t-i-o-n. In the same way that you apply moisturizer before applying your foundation, it is essential to protect your nails before applying polish.
To do this, apply the Base Coat, edging the nail well, and cure under the LED Lamp for the time indicated on the protocol. The Base Coat protects the nail while making it stronger.
Step 2: Color
Apply your favorite color along the edge of the nail and cure under the lamp following the time indicated in the protocol. Repeat the step to get 2 thin coats of color. In case of overflow, before flashing, remove the excess varnish on the skin.
Step 3: Top Coat
The Top Coat guarantees a gel-effect manicure, a shiny finish as fine as a classic varnish and lasting up to 10 days! Apply it well along the nail and cure under the Lamp for the time indicated on the protocol.
Read also: Why do nails split?


