Semi-permanent varnish is very popular because it lasts for a long time. But to use it, you need to know the steps of applying semi-permanent varnish. In this article, we will reveal the best practices for applying semi-permanent varnish.
Here are the steps to follow meticulously!
Before starting, the preparation
First and foremost, prepare your equipment well. It is important to wash your hands well, disinfect the instruments and have a clean table with towels available. Also think about your comfort. Being comfortable guarantees a top application and a nice result!
Arm yourself with your manicure kit and your patience because it requires concentration. But it’s worth it!
The steps of applying semi-permanent varnish
Step 1: prepare the hands and nails
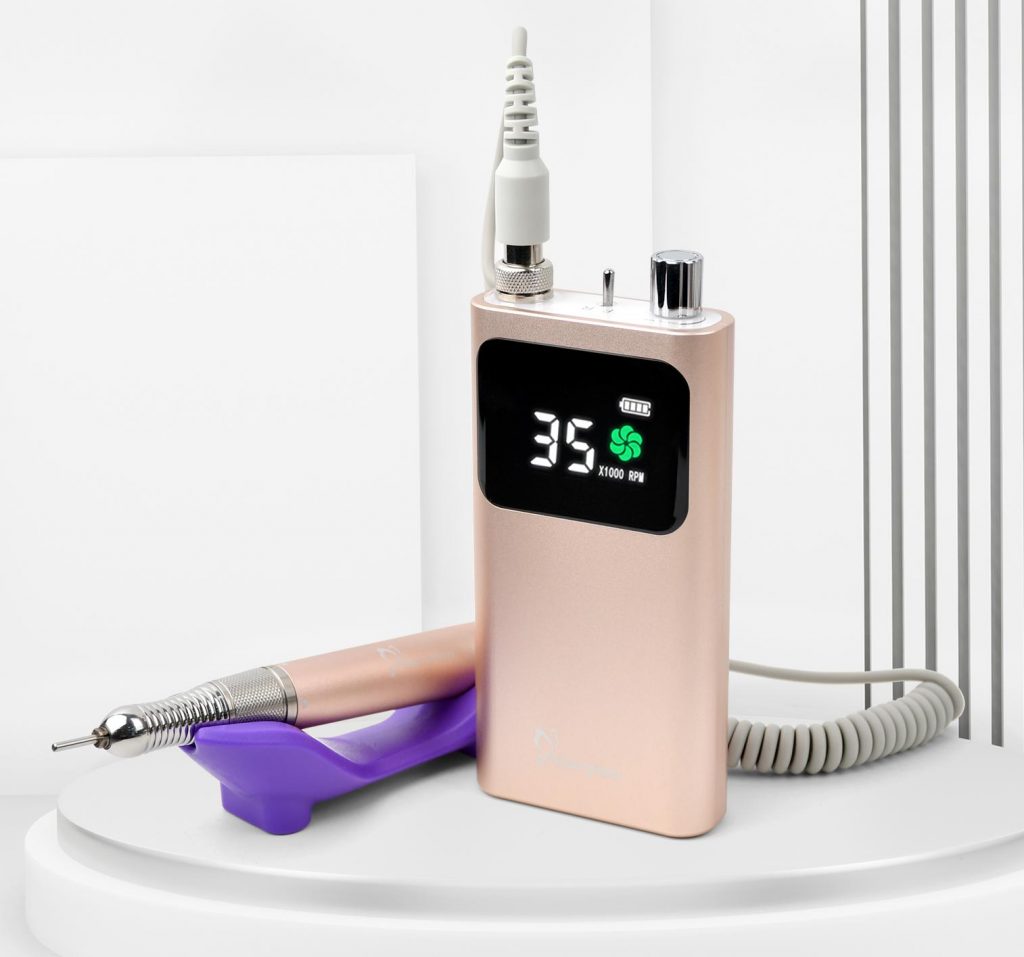
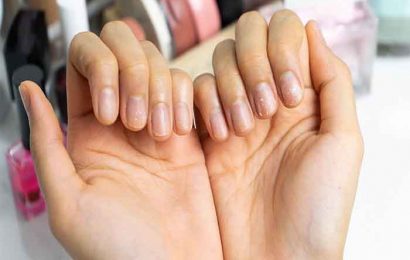
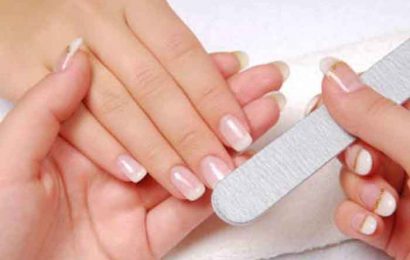
To increase the hold of the varnish, prepare the nail with a nail drill machine. A rounded shape is ideal for good support. Remember to push back the cuticles and bathe your hands in warm water to soften them. Polish or sand the surface of the nails. Don’t forget to clean your nails each time so that there are no impurities and residues.
Step 2: Apply the varnish
Before applying the semi-permanent varnish, apply a base coat! Shake the base coat bottle and apply a thin layer to the nails. Always leave a margin around the cuticle. Finally, pass your hand under the UV or LED lamp for 30 seconds.
Apply your varnish in the color of your choice. In a thin layer and without touching the cuticles. Catalyze one hand after the other for 1 minute each. Apply a second coat and repeat the operation a second time or even 3 times to properly consolidate the varnish.
Step 3: Fix the color and add shine
To add shine, add the top coat in light layers to the nails. This will fix your color. Be aware that some varnishes act as both a base and a top coat. This avoids having to use a multitude of products. One last time under the lamp for another minute.
One last thing to do for an optimal result, remember to degrease your nails using a cleaner. Then wipe them gently for clean and sublime fingers!
Read also: Yellowing of toenails: the different causes


